How to Reset Your Maintenance Light After an Oil Change
Resetting the maintenance light after an oil change is a simple process that keeps your dashboard clear and your car running smoothly. Whether you drive a Toyota, Honda, Ford, or another brand, this guide walks you through the exact steps to turn off the service reminder. Most vehicles take just a few minutes, and you do not need a mechanic to do it.
Key Takeaways
- Easy Process: Resetting the maintenance light is quick and usually done through your dashboard controls.
- Brand-Specific Steps: Different vehicle brands use different button combinations to reset the light.
- Common Mistakes Exist: Holding buttons too long or skipping steps can cause the reset to fail.
- Persistent Lights Need Attention: If the light stays on after a reset, there may be an underlying issue to address.
- Regular Maintenance Matters: Keeping up with your oil change schedule helps prevent bigger problems down the road.
- No Special Tools Needed: You can reset the light yourself without expensive equipment or a dealership visit.
📑 Table of Contents
Why Does the Maintenance Light Come On?
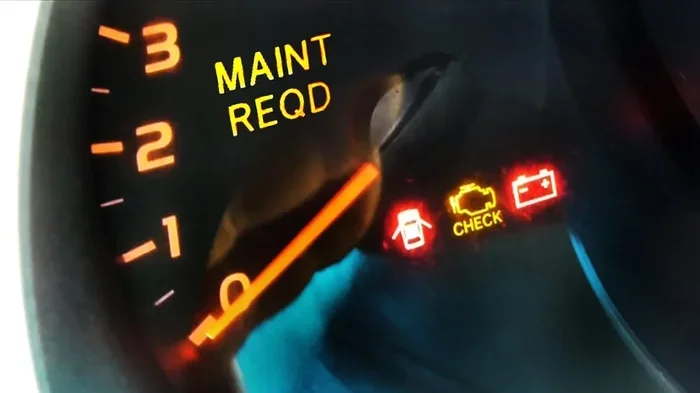
That little wrench or service light on your dashboard can feel annoying. But it serves an important purpose. The maintenance light is your car’s way of telling you it is time for routine care. Most vehicles use an oil life system that tracks driving conditions and mileage. When the system decides the service interval has been reached, it triggers the light.
The light does not always mean your oil is bad. It often reflects a combination of factors. These include mileage, engine hours, and driving habits. For example, frequent short trips or stop-and-go traffic can shorten the oil change reminder interval. Understanding this helps you stay on top of your vehicle maintenance schedule.
What Triggers the Maintenance Light?
Several things can trigger the dashboard indicator. The most common one is reaching a set mileage threshold. Most cars are programmed to remind you every 5,000 to 7,500 miles. However, some newer vehicles use intelligent systems that adjust based on how you drive.
Here are the most common triggers:
- Mileage reaching the set interval (usually 5,000 to 7,500 miles)
- Harsh driving conditions like extreme heat or cold
- Frequent short trips where the engine does not fully warm up
- Heavy idling or stop-and-go traffic patterns
- Time-based reminders in some older vehicle models
Once you get your oil changed, the light should be reset. If it is not, the service reminder will keep flashing. This can be distracting and confusing. That is why knowing how to reset it yourself is so valuable.
Understanding Your Oil Life System
Modern cars come equipped with an oil life monitoring system. This system is smarter than simple mileage counters. It tracks your driving patterns and engine conditions. Some systems use algorithms that consider temperature, RPM, and driving style. The goal is to tell you exactly when your oil needs changing.
This is different from older vehicles that relied on fixed mileage intervals. If your car has an oil life system, the maintenance due light will not always come on at the same mileage every time. It adapts. After an oil change, you must manually tell the system it has been reset. That is where the reset process comes in.
How to Reset the Maintenance Light After an Oil Change
The process to reset the maintenance light after an oil change is straightforward for most vehicles. However, the exact steps vary by make and model. Below, we break down the general process and then cover specific brands.
What You Need Before You Start
Before you begin, make sure you have the basics ready. You do not need any special tools. Here is what you will need:
- Your vehicle’s owner manual (helpful but not always required)
- The ignition key or push-button start
- A few minutes of your time
- The odometer or trip meter accessible
It helps to park your car in a safe spot. Turn off the engine but leave the key in the ignition. Some reset procedures require the ignition to be in the “on” position without starting the engine. Check your manual if you are unsure.
The General Reset Process
While every car is different, most reset procedures follow a similar pattern. Here is the general approach that works for many vehicles:
- Turn the ignition to the “on” position without starting the engine. The dashboard lights should illuminate.
- Locate the trip meter or odometer button on your dashboard or steering wheel controls.
- Press and hold the trip reset button while you turn the ignition off and then back on.
- Continue holding the button until the maintenance light flashes or resets to zero.
- Release the button and check if the light has turned off.
This process usually takes less than a minute. If it does not work the first time, do not worry. Try again and make sure you are following the correct sequence for your vehicle. Sometimes holding the button a second or two longer makes the difference.
Why Timing Matters
The timing of your button presses is crucial. If you release the button too early, the reset will not complete. If you hold it too long in some models, you might accidentally reset other settings. Practice makes perfect. Once you have done it a couple of times, it becomes second nature.
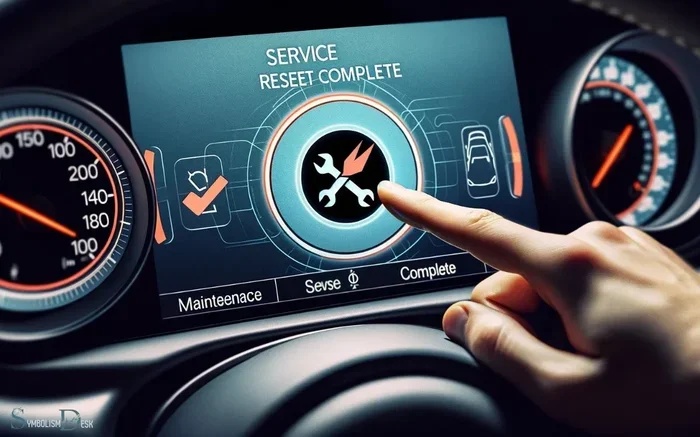
After a successful reset, the service light should turn off completely. Some vehicles show a confirmation message on the display. Others simply turn off the warning light. Either way, you will know the reset worked.
Reset Methods for Popular Vehicle Brands
Different car manufacturers use different methods to reset the maintenance light. Below are step-by-step instructions for some of the most popular brands.
How to Reset on Toyota and Lexus Models
Toyota and Lexus vehicles are among the most common on the road. The reset process for these cars is fairly simple. Start by turning the ignition to the “on” position. Then, use the steering wheel controls to navigate to the trip meter display. Press and hold the trip reset button for several seconds. The maintenance light should blink and then turn off.
For some Toyota models, you may need to turn the ignition off first, then hold the trip button while turning it back on. If you are unsure about the exact steps for your model, the owner manual is your best friend. You can also visit a service center where they can walk you through it.
Many people wonder if they can get oil changes free at Toyota through warranty or maintenance programs. While this varies by dealership and plan, the reset process remains the same regardless of where you get your oil changed.
How to Reset on Honda and Acura Models
Honda and Acura vehicles use a slightly different method. Start by pressing the trip button on the dashboard to display the odometer reading. Then, turn the ignition to the “on” position. Press the trip button again and hold it for about 10 seconds. The maintenance light should start blinking.
After the light blinks, turn the ignition off and then back on. Press and hold the trip button once more. The light should reset and turn off. This process may feel a bit finicky at first, but it becomes easier with practice.
How to Reset on Ford and Chevrolet Models
Ford and Chevrolet vehicles often use a combination of the steering wheel buttons and the dashboard display. For Ford models, use the steering wheel controls to navigate to the vehicle information menu. Scroll to find the maintenance reset option. Select it and hold the button to confirm.
Chevrolet models typically require you to press the trip odometer button while turning the key to the “on” position. Hold the button until the light resets. Some newer Chevy models with touchscreen displays have a settings menu where you can find the maintenance reset option directly.
What to Do When the Light Won’t Turn Off
Sometimes the maintenance light stays on even after you follow the reset steps. This can be frustrating. Before you panic, know that there are several reasons this might happen. Understanding them can save you time and money.
Common Reasons the Light Persists
If the dashboard warning light stays on after a reset, check these common issues first:
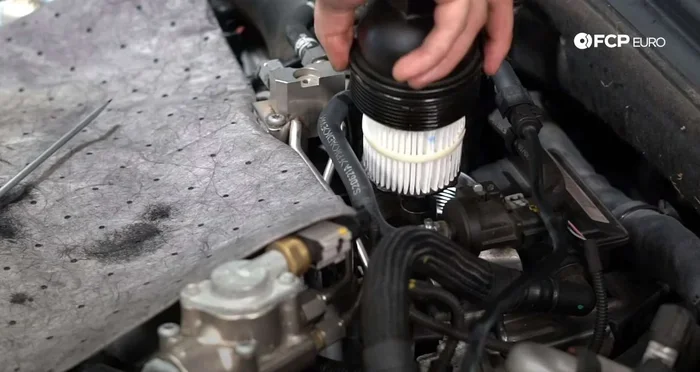
- The oil change was not completed properly. If the oil filter was not seated correctly or the oil level is low, the system may not register the service.
- You did not follow the reset sequence correctly. Timing and button combinations matter. Try the process again carefully.
- A different issue triggered the light. Some vehicles use the same light for multiple warnings. A low oil level, faulty sensor, or other problem could be the cause.
- The system needs a full cycle to recognize the reset. Try driving the car for a few miles after resetting. The light may turn off after the system completes a cycle.
If you recently added oil to your car because it was low, make sure you filled it to the proper level. Some maintenance systems will not reset if the oil level sensor detects a low level. Topping off the oil first can help the reset process succeed.
When to See a Professional
Most of the time, a persistent maintenance light is a simple fix. But sometimes it signals a deeper problem. If you have reset the light multiple times and it keeps coming back, it is worth getting a professional diagnosis. A mechanic can scan the system for error codes and identify the root cause.
You should also see a professional if the light comes with other warning signs. These include unusual engine noises, decreased fuel efficiency, or a burning smell. These symptoms could indicate a more serious issue that needs immediate attention. Regular car maintenance helps catch problems early before they become expensive repairs.
Can You Negotiate the Price of an Oil Change?
Many car owners are surprised to learn that you can negotiate the price of an oil change at most service centers. Dealerships and independent shops often have some flexibility on their service prices. It never hurts to ask, especially if you are a returning customer or if you have been getting regular maintenance done at the same location. Knowing the average cost of an oil change in your area gives you leverage in these conversations.
Quick Tips and Common Mistakes
Quick Tips for a Smooth Reset
Here are some practical tips to make the reset process easier and more successful:
- Always reset the light right after the oil change. Do not wait days or weeks. The system is most responsive immediately after service.
- Keep your owner manual handy. Even if you have done it before, the manual has the exact steps for your specific model.
- Use the trip meter method first. This is the most common reset method across all brands.
- Take a video of the process. If you are unsure whether the reset worked, recording it helps you verify later.
- Ask the service technician to reset it for you. Many oil change facilities will do this as part of their service at no extra charge.
Common Mistakes to Avoid
Avoid these common errors that can cause the reset to fail or create new problems:
- Releasing the button too early. The reset needs a few seconds of continuous holding to register.
- Starting the engine during the reset. Most reset procedures require the ignition in the “on” position, not the running position.
- Confusing the trip meter button with other controls. Make sure you are pressing the right button. The trip odometer reset is usually the one that works.
- Ignoring the light if it returns. A light that keeps coming back may indicate a real problem, not just a reset issue.
- Skipping regular maintenance. Even if you know how to reset the light, staying on top of your maintenance schedule is what really matters.
Expert Insight: The Importance of Timely Oil Changes
Experts agree that staying current with your oil changes is one of the simplest ways to extend your vehicle’s life. Fresh oil lubricates the engine, reduces friction, and prevents overheating. Over time, oil breaks down and loses its effectiveness. This can lead to increased wear and tear on engine components.
Some drivers wonder if they can go two years without an oil change. While modern synthetic oils last longer than older formulations, most manufacturers still recommend changing oil every 5,000 to 7,500 miles or every six months. Skipping oil changes for extended periods can void your warranty and lead to costly engine repairs.
During your oil change, it is also a good opportunity to ask the technician to check transmission fluid during an oil change. Many drivers overlook this, but transmission health is critical to your vehicle’s overall performance. A quick check can catch low fluid levels or contamination before they cause serious damage.
Final Thoughts
Resetting the maintenance light after an oil change is one of those small tasks that keeps your car running smoothly and your dashboard clean. It takes just a few minutes, and you can do it yourself without any special tools or expensive trips to the dealership.
Whether you drive a Toyota, Honda, Ford, or any other brand, the process is manageable once you know the steps. Start with the general method and then check your specific vehicle’s instructions if needed. Keep your owner manual accessible for reference, and do not hesitate to ask a service professional for help if the light will not go off.
Remember that the maintenance light is there to help you take care of your car. Resetting it after an oil change is not about hiding a warning. It is about acknowledging that the service has been completed and the system needs to start its new monitoring cycle. Stay on top of your oil change schedule, keep your vehicle in good shape, and that maintenance light will only come on when it truly needs to.
Taking a few extra minutes to understand your car’s systems pays off in the long run. You save money, avoid unnecessary dealership visits, and gain confidence as a car owner. The next time that wrench light comes on after an oil change, you will know exactly what to do.
Frequently Asked Questions
How long does it take to reset the maintenance light after an oil change?
For most vehicles, the reset process takes less than one minute. Once you know the correct button sequence for your car, it becomes quick and easy. Some newer models with touchscreen displays may take a few extra seconds to navigate the menu options.
Can I reset the maintenance light myself, or do I need to go to a dealership?
You can absolutely reset the maintenance light yourself. No dealership visit is required. The process uses your car’s existing controls and takes just a few simple steps. However, if you are uncomfortable doing it yourself, any oil change facility or mechanic can do it for you at no extra charge.
What should I do if the maintenance light comes back after I reset it?
If the light returns after a reset, first check that your oil level is adequate. Then try the reset process again, making sure to follow the exact sequence for your vehicle. If the light keeps coming back, there may be an underlying issue such as a faulty sensor or incomplete oil change that needs professional attention.
Does resetting the maintenance light affect my car’s warranty?
No, resetting the maintenance light does not affect your car’s warranty. The light is simply a reminder system. It does not control or monitor engine performance. However, keeping up with your recommended maintenance schedule is important for warranty coverage, so make sure you actually complete the oil changes on time.
Can I drive my car with the maintenance light on?
Yes, you can safely drive your car with the maintenance light on. The light is a reminder for scheduled service, not an urgent warning. However, it is best not to ignore it for too long. Staying current with oil changes helps protect your engine and prevents more serious problems from developing over time.
Is there a difference between the maintenance light and the check engine light?
Yes, there is a significant difference. The maintenance light is a routine service reminder that comes on at scheduled intervals. The check engine light indicates a specific problem detected by the onboard diagnostics system. If the check engine light is on, you should address it promptly. The maintenance light simply means it is time for your next oil change or scheduled service.